


1 Insert the paper support into the slots behind the printer, as shown.
2 Lower the feeder guard into the slots behind the scanner lid.
(Insert the hinges on the feeder guard into the corresponding
slots on the printer.)
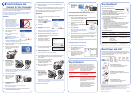
Epson Stylus
®
CX6600
Start Here
1 Wait until you see “Initial Charge” displayed on the LCD screen.
2 Lift up the scanner.
3 Shake the package of ink cartridges four or five times.
Then remove the cartridges from the package.
Caution: You must install all the cartridges and leave them installed
for all types of printing. To avoid damaging the Stylus CX, never
move the print head by hand.
4 Open the ink cartridge cover.
5 Place each cartridge, one at a time, in its holder.
6 Press down on each cartridge until it clicks into place.
Install Ink Cartridges
4
1 Extend the output tray.
2 Slide the edge guide to the left.
3 Place a stack of paper against the right side of the sheet feeder,
but don’t push it in. Slide the edge guide against the paper.
7 Close the ink cartridge cover, then close the scanner.
The Stylus CX begins charging the ink delivery system.
Charging takes about 2 minutes. The Stylus CX makes various
sounds and “Charging . . .” appears on the LCD screen. Don’t turn
it off while “Charging . . .” appears, or you’ll waste ink.
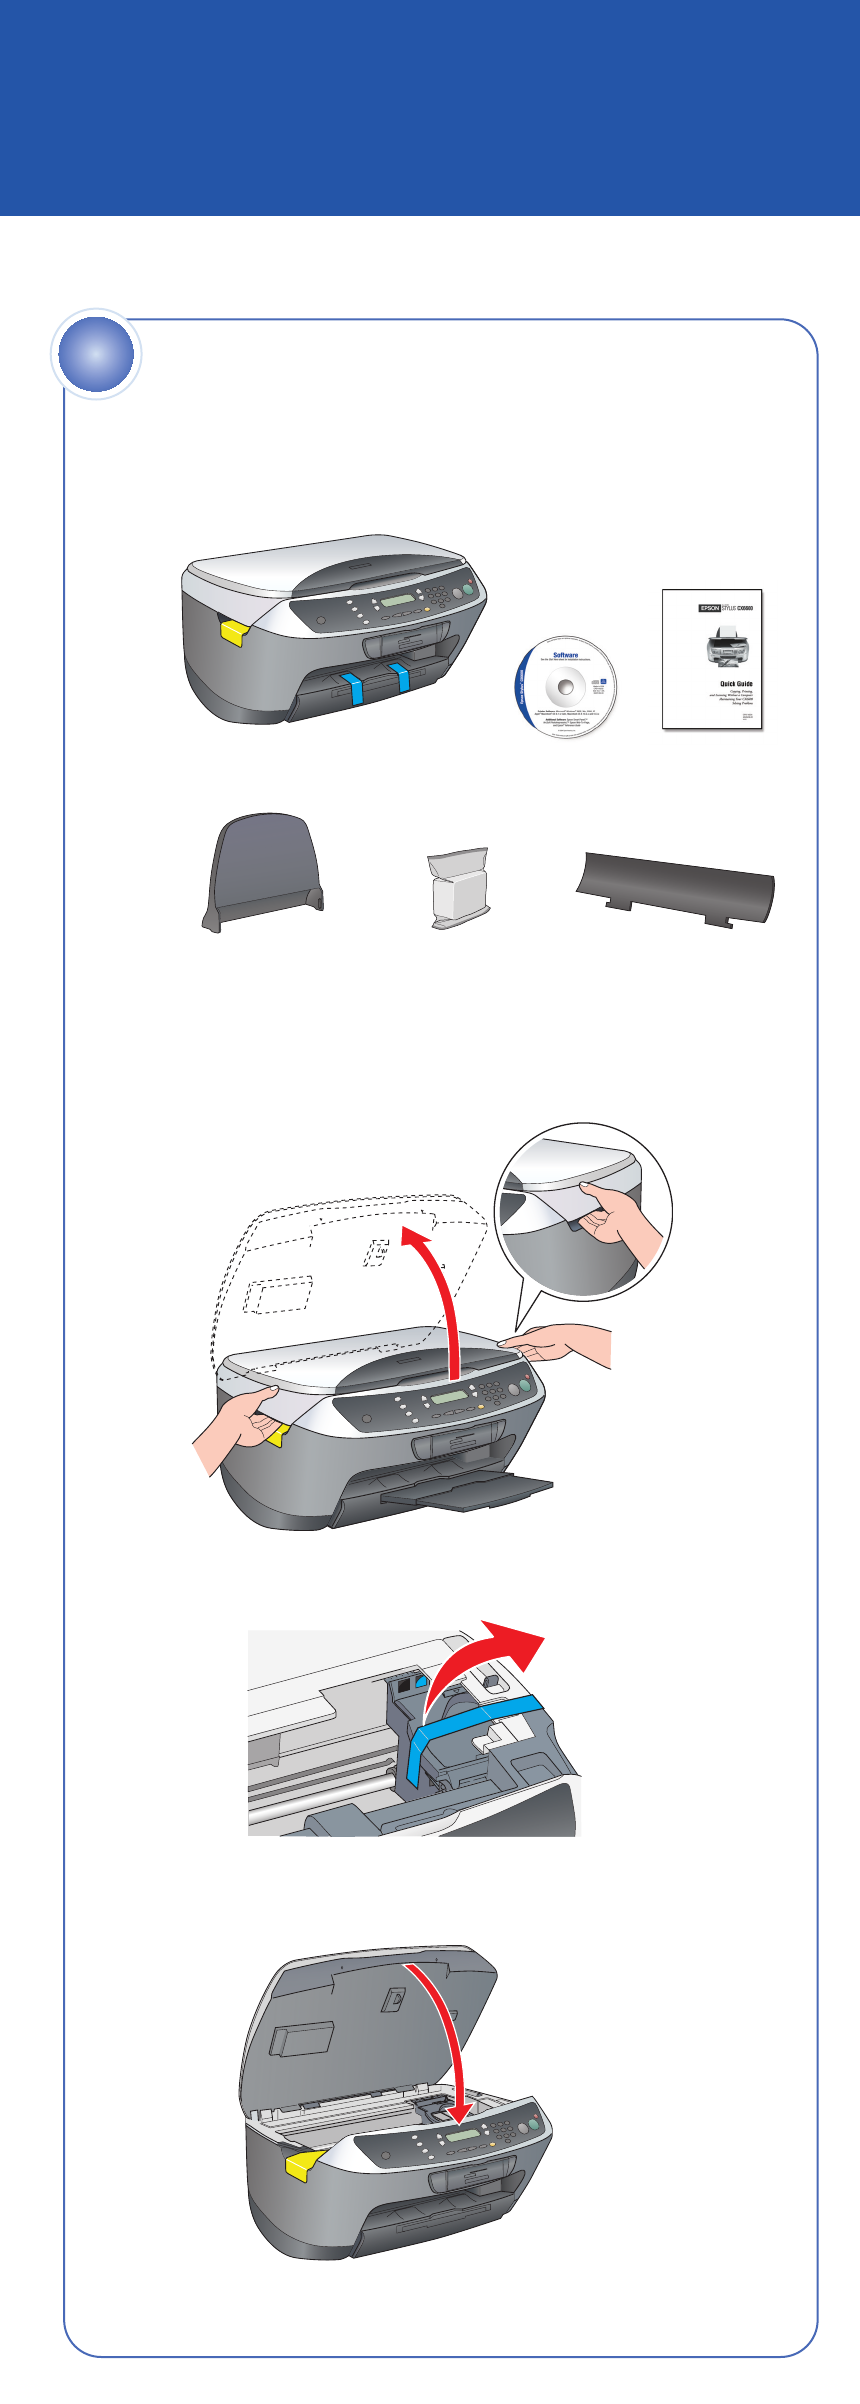
1 Make sure you have all the parts shown here. If any parts are missing,
contact Epson
®
as described on the back of this sheet.
2 Remove all the blue packing tape from the printer.
Caution: Do not remove the yellow sticker until instructed.
3 Lift up the scanner.
4 Peel off the tape from the ink cartridge holder.
5 Close the scanner section.
Unpack
Turn over
1
5
Load Paper
Attach the Parts
2
1 Plug the Stylus CX into a grounded electrical outlet.
2 Press and hold the On button until the green lights come on.
Plug In and Turn On
3
Paper support
Software
CD-ROM
Quick Guide
Epson Stylus CX6600
Ink cartridges Feeder guard
Don’t touch the green part
4049498-00 XXX
On button
continue