


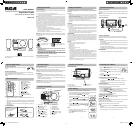
USER MANUAL
RS27116i
It's important to read this instruction prior to using your new product
for the rst time.
Safety Precautions
Safety Precautions
WARNINGS:
• TO PREVENT FIRE OR SHOCK HAZARD, DO NOT EXPOSE THE UNIT TO
RAIN OR MOISTURE.
• TO AVOID ELECTRICAL SHOCK, DO NOT OPEN THE CABINET. REFER
SERVICING TO QUALIFIED PERSONNEL ONLY.
• THE APPARATUS SHALL NOT BE EXPOSED TO DRIPPING OR
SPLASHING AND THAT NO OBJECTS FILLED WITH LIQUID, SUCH AS
VASES, SHALL BE PLACED ON THE APPARATUS.
For Customers in Canada
This apparatus complies with the Class B limits for radio noise emission set out
in radio interference regulations.
FCC Information
This device complies with Part 15 of the FCC rules. Operation is subject to the
following two conditions:
(1) This device may not cause harmful interference, and
(2) This device must accept any interference received, including interference
that may cause undesired operation.
NOTE: This equipment has been tested and found to comply with the limits
for a Class B digital device, pursuant to part 15 of the FCC Rules. These limits
are designed to provide reasonable protection against harmful interference
in a residential installation. This equipment generates, uses, and can radiate
radio frequency energy and, if not installed and used in accordance with
the instructions, may cause harmful interference to radio communications.
However, there is no guarantee that interference will not occur in a particular
installation. If this equipment does cause harmful interference to radio or
television reception, which can be determined by turning the equipment o
and on, the user is encouraged to try to correct the interference by one or more
of the following measures:
• Reorientorrelocatethereceivingantenna.
• Increasetheseparationbetweentheequipmentandreceiver.
• Connecttheequipmentintoanoutletonacircuitdierentfromthatto
which the receiver is connected.
• Consultthedealeroranexperiencedradio/TVtechnicianforhelp.
WARNING:Changesormodicationstothisunitnotexpresslyapprovedby
the party responsible for compliance could void the user’s authority to operate
the equipment.
This product contains a low
power laser device.
D
O
N
O
T
T
O
U
C
H
T
H
E
L
E
N
S
W
H
E
N
O
P
E
N
A
N
D
I
N
T
E
R
L
O
C
K
S
D
E
F
E
A
T
E
D
.
A
V
O
I
D
E
X
P
O
S
U
R
E
T
O
B
E
A
M
- 1 - - 2 - - 3 -
Volume Adjustment
Location of Controls
Location of Controls
Remote Control
Remote Control
Using the AC Adapter
Using an AC adapter other than the one supplied with the unit may
damagetheunit.ThisACadapteroperatesonAC100-240V~50/60Hz.
CAUTIONS:
• Beforeuse,ensuretheratedvoltageoftheadaptermatchesyour
local voltage.
• TheincludedACadapterisforusewiththisunitonly.Donotuseit
with other equipment.
• Ifyouarenotgoingtousetheunitforalongtime,disconnectthe
AC adapter from the wall outlet.
• WhenevertheACadapterispluggedintoawalloutlet,electricityis
running through the unit, even when the power switch is turned o.
FM ANTENNA
• DonotconnecttheFMantennatoanoutsideantenna.
To Adjust the Volume
AdjusttheVOLUMElevelstoobtainthedesired
volume.
For Personal Listening
Connectheadphones(Ø3.5mmstereominiplug)tothePHONESjack.
AdjusttheVOLUMEleveltothedesiredlevel.
Whenheadphonesareconnected,thespeakersareautomatically
muted.
Using the Remote Control Correctly
• PointtheremotecontrolattheREMOTESENSORlocatedonthe
unit.
• Whenthereisastrongambientlightsource,theperformanceof
theinfraredREMOTESENSORmaybedegraded,causingunreliable
operation.
• Theeectivemaximumdistanceforremoteoperationisapprox.19
feet(6meters).
1
2
3
4
5
6
7
13
12
11
10
9
8
1. PRESETEQButton
2.
ON/STANDBYButton
3. SLEEPButton
4. PROG/MEM/
Button
5. RANDOMButton
6. MEM.UP/
Button
7. BAND/
STOPButton
8. FUNCTION Button
9. TIMERButton
10. DISPLAYButton
11.
/ Button
12. VOLUME+/-Buttons
13.
PLAY/PAUSEButton
To Change Battery
ATTENTION
Remove the plastic sheet
before operating the
remote control.
1. Open the battery door.
2.InsertoneCR2025(3V)sizebattery.
Battery Replacement
Whenthebatterybecomesweak,theoperatingdistanceoftheremote
control is greatly reduced and you will need to replace it.
Note: If the remote control is not going to be used for a long time, remove
thebatterytoavoiddamagecausedbybatteryleakagecorrosion.
WARNINGS:
• Donotdisposeofbatteryinre;batterymayexplodeorleak.
• Batteryshallnotbeexposedtoexcessiveheatsuchassunshine,re
orthelike.
• Dangerofexplosionifbatteryisincorrectlyreplaced.Replaceonly
with the same or equivalent type.
CAUTION:Whendiscardingbatteries,environmentalproblemsmust
be considered and local rules or laws governing the disposal of these
batteries must be strictly followed.
Unit (Front View)
18
5
2
6
7
8
9
10
11
12
13
3
4
1
1514 16 17
19
20
21
22
23
24
Unit (Rear View)
11. DISPLAYButton
12. SLEEPButton
13. iPodDocking
14. VOLUME-Button
15. VOLUME+Button
16.
/TUNING+Button
17.
/TUNING-Button
18. OPENKnob
19. CDDoor
1. LCDDisplay
2.
STANDBYIndicator
3. TIMERIndicator
4. Remote Sensor
5.
STANDBY/ONButton
6. MEM.UP/
Button
7. BAND/
STOPButton
8. FUNCTION Button
9.
PLAY/PAUSEButton
10. PROG/MEM/
Button
20. AUXINjack
21. DCIN12VJack
22. Right&LeftSpeakerTerminals
23.
EarphoneJack
24. FMAntenna
This Class B digital apparatus complies with Canadian ICES-003.
Cet appareil numérique de la classe B est conforme à la norme NMB-003
du Canada.
Warnings:
• TheACadapterisusedasdisconnectdeviceanditshouldremainreadily
operable during intended used. In order to disconnect the apparatus from
the mains completely, the AC adapter should be disconnected from the
mainssocketoutletcompletely.
•
Minimum10cm(4inches)distancesaroundtheapparatusforsucientventilations.
• Theventilationshouldnotbeimpededbycoveringtheventilationopenings
with items such as newspaper, table-cloths, curtains, etc.
• Nonakedamesourcessuchaslightedcandlesshouldbeplacedonthe
apparatus.
On Safety
As the laser beam used in this compact disc player could be harmful to the
eyes, do not attempt to disassemble the casing. Refer servicing to qualied
personnel only.
• Donotputanyforeignobjectsinthedisccompartment.Ifyoudoso,the
laserbeaminterlockmaybedefeatedallowingthelasertoremainonwhen
the lid is opened.
• DonotputanyforeignobjectsintheDCINjack.Shouldanyobjectsor
liquids fall into the unit, disconnect the power supply and have the unit
checkedbyqualiedpersonnelbeforeanyfurtheroperation.
On Operation
SincetheCDsystemoersawidedynamicrange,thepeaksofthehighlevel
inputsarerecordedwithhighdelity,andthenoiselevelisverylow.Donot
turn up the volume while listening to a part of the disc with no audio signals
orverylowlevelinputs.Ifyoudoso,thespeakersmaybedamagedwhenthe
peaklevelofthesoundisplayed.Thelensofthelasershouldbekeptclean.
Donottouchthelens.Ifyoudoso,thelensmaybedamagedandtheunitwill
not operate correctly.
On Use
Never use the unit where it would be subject to:
- Heat sources such as radiators or air ducts.
- Directsunlight.
- Excessivedust.
- Moistureorrain.
- Mechanicalvibrationorshock.
- Uneven surface.
• Donotplaceanyheavyobjectsontopoftheunit.
•
WhentheunitisusedwithanACpoweradapter,donotwraptheunitina
cloth,blanket,etc.Ifyoudoso,thetemperatureinsideandoutsidetheunit
may rise considerably, resulting in malfunctioning of the unit.
• Iftheunitisbroughtdirectlyfromacoldtoawarmlocation,orisplaced
in a very damp room, the moisture may condense on the lens inside the
unit.Shouldthisoccur,theunitwillnotoperate.Inthiscase,removethe
disc and leave the unit in a warm place for several hours until the moisture
evaporates.
•Fortheunittooperateatitsbest,itshouldnotbesubjecttotemperatures
below41°F(5°C)orabove95°F(35°C).
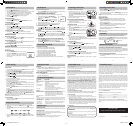
System Connections
Speaker Connections
ConnecttherightspeakertotheRterminalandtheleftspeakertothe
Lterminal.
NOTE:Connectingspeakersotherthanthespeakerssuppliedwiththe
unit may damage the unit.
AC adapter
To AC
outlet
To “DC IN 12V” jack
RIGHT SPEAKER BOX LEFT SPEAKER BOX
Clock Setting
1. Press and hold the PROG/MEM/ ( ) button
untilthehourdigitsblink.
2. Press the
or button to adjust the desired
hours then press the PROG/MEM/
( ) button
once to conrm. The minute digits will begin to
blink.
3. Press the
or button to adjust the desired
minutes then press the PROG/MEM/
( )
buttononcetostartclock.
Notes:
• 12:00PM=NOONtime,“PM”willbedisplayfor
timesbetweenNoonandMidnight.
• TaptheDISPLAY button once to display the
current time.
SettingtheclockcanonlybedoneinSTANDBYmode.
• IftheunitispluggedinwiththesuppliedACadapterandtheunitis
in standby mode, the standby indicator illuminates.
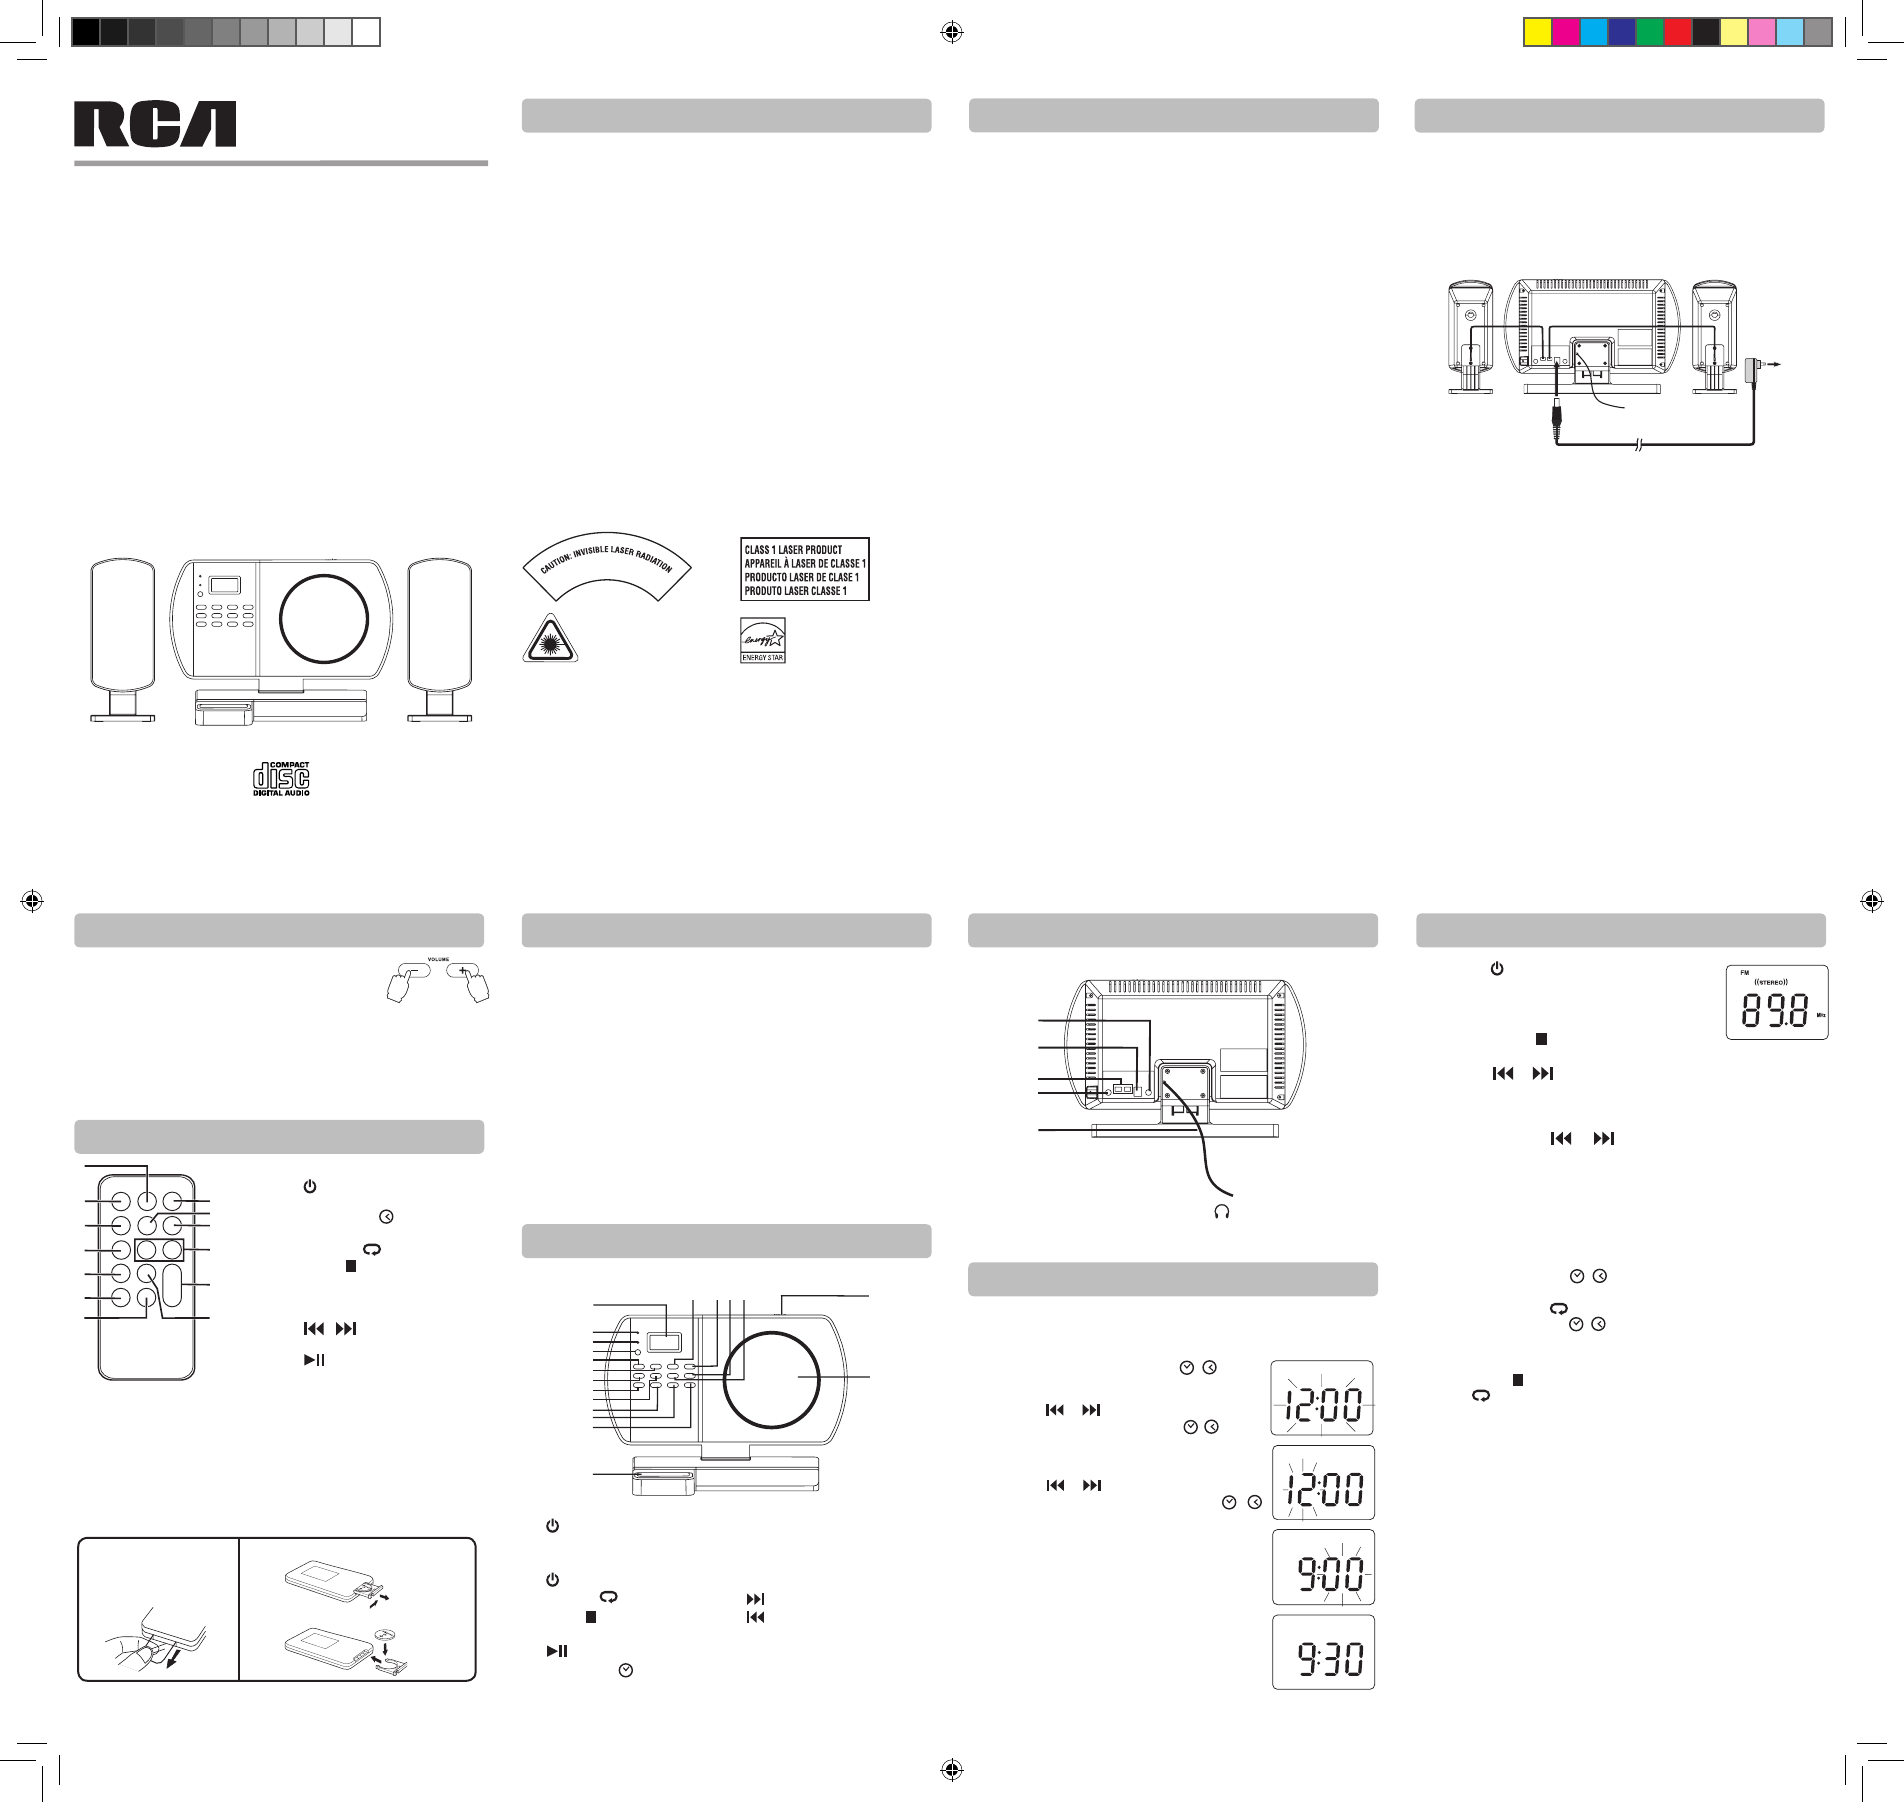
1. Press the
STANDBY/ON button to turn the unit
on.
2. Press the FUNCTION button repeatedly to select
radio mode.
3. Press the BAND/
STOP button to select a band
(AM/FM).
4. Press the
or button to tune in to a station.
5. Adjust the volume levels
Searching for a Station Automatically
• Pressandholdthe or button until the tuner starts
searching for a station, then release. After tuning in a station, the
search stops.
• Thesearchmaynotstopatastationwithaveryweaksignal.
AM
AM
AM
AM
Listening to the Radio
Presetting Stations
Theunitcanstoreatotalof20stationsinmemory(10FM,10AM).
Presetting allows you to tune in to a station directly.
1. Tune in to a desired station.
2. Press the PROG/MEM/
( ) button.Thepresetnumberwillblink
andthe“MEMORY”indicatorwillashonthedisplay.
3. Press the MEM.UP/
button to select the preset number.
4. Press the PROG/MEM/
( ) button again to store it in memory.
5. Repeat steps 1-4 to store other stations.
Tuning in to a Preset Station
Press the BAND/ STOPbuttontoselectAMorFMband,thenpressthe
MEM.UP/
button to select a preset number.
For Better Reception
FM:Fullyunwindtheantennawire.Extendtheantennawireandplaceit
in the position that sounds best.
Note:DonotconnecttheFMantennatoanoutsideantenna.
AM:RepositiontheunittogetbetterAMreception.
Notes:
• Whenthereceptionisgood,the“((STEREO))”indicatorwillappearon
the display.
• TopreventinterferencetoAMradiosignals,pleasekeeptheACadapter
atleast3feet(approx.1meter)awayfromthemainunit.
- 4 - - 5 - - 6 - - 7 -
ThisAudioSystemhas
earnedtheENERGYSTAR.
Digital Music Studio
withuniversaldockforiPod
811-711691W062 ENG RCA.indd 1 2009-05-22 15:05:33