1. INTRODUCTION
Model 18KR
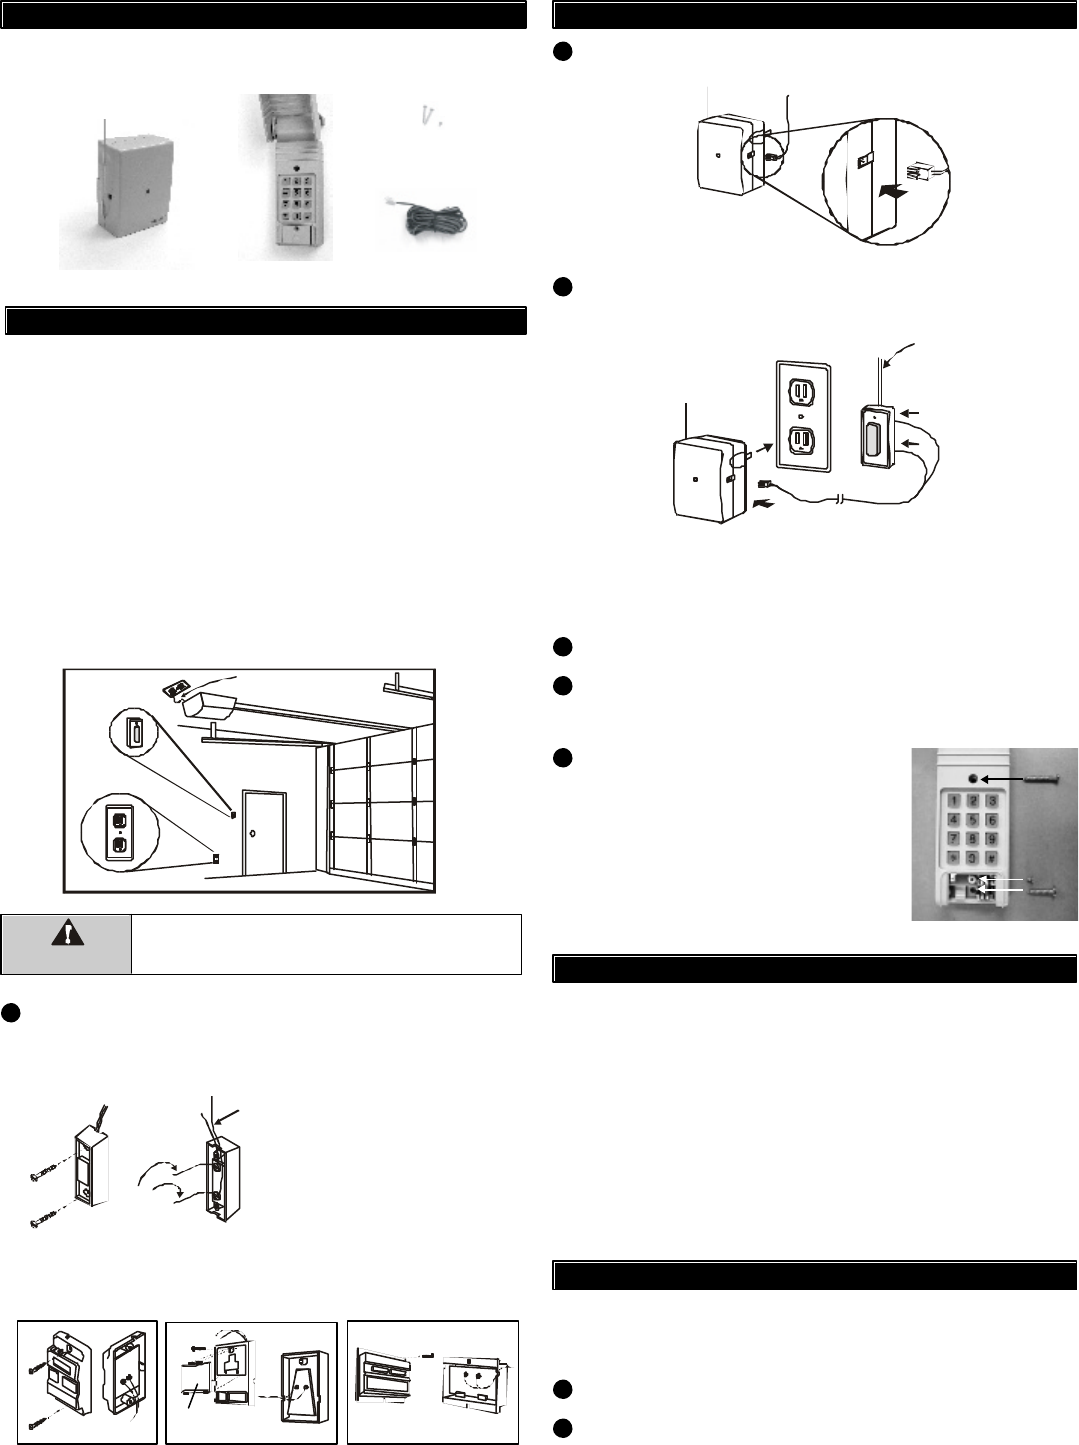
In this package, you will find a keyless entry transmitter with 3V lithium
batteries, a garage door receiver, a red / black wire and screws.
Plug in the connector end of the Red/Black wire to the 18R
receiver. Note the orientation of the male & female connector.
Plug the receiver into an electrical outlet inside the garage.
The red light on the receiver should be on after being plugged into an
electrical outlet.
Re-connect the power cord of the Garage Door Opener.
Remove the battery isolator on the transmitter and enter the factory
default PIN [0,0,0,0], [#], [1] you will hear 3 beeps indicating you have
entered the correct PIN. The door will now open.
4
5
Keyless Entry Transmitter
(Batteries inside)
Skylink
®
Wireless Keyless Entry
for Garage Doors
2. INSTALLATION
The following instructions will show you how to install the receiver. After
installing, the keyless entry transmitter (already programmed to the
receiver) can be used to operate your garage door opener.
You need to locate 2 things inside your garage to install the receiver:
1) the wall-mounted door control;
2) an electrical outlet, select an electrical outlet different from the one
already connected to the power cord of the garage door opener to
reduce the chance of interference. The further distance between
the receiver and the garage door opener, the less interference
between 2 devices.
Note: The length of the red/black wire is 20ft, so the receiver must be
plugged into an electrical outlet that is within 20ft of the wall mounted
door control. If there is no electrical outlet within 20ft of the wall
mounted door control, an extension cord can be used for temporary
installation.
2. INSTALLATION (CONT)
2
3
3. TROUBLE SHOOTING
Q: Door opener does not react after pressing the button on the transmitter.
A:- Ensure you hear 3 beeps from the keypad transmitter after entering
the default PIN [0,0,0,0], [#], [1]. If you do not hear 3 beeps, that means
the PIN you entered is incorrect. Re-enter the correct PIN.
- If the red light on the receiver flashes after entering the PIN on the
transmitter, but the door opener does not respond, please ensure the
red/black wire is successfully connected from the receiver to the
wall mounted door control.
- Ensure the wires that are previously connected to the wall mounted
door control are not loose.
- Ensure the keypad transmitter has been programmed to the receiver.
Refer to section 4 how to program a keypad to the receiver.
RED/BLACK WIRE
RECEIVER
Existing wires connected
to garage door opener.
(Do not remove)
1
Remove the wall-mounted door control from the wall by removing
the screws. Connect the stripped ends of the Red/Black wire to the
2 terminals (2 screws) on the back of the wall mounted door
control. (Polarity does not matter.)
Unplug the power cord of your garage door opener
before installation to ensure power is not connected.
Wall Mounted
Door Control
Electrical
Outlet
WARNING
Remove power cord of garage
door opener before installation.
Red /
Black wire
Note: There should be another
pair of wires connected to the 2
terminals already. Do not remove/
disconnect these existing wires.
Note: If you see no screws mounting the wall mounted door control,
the screws are probably underneath the front cover. Remove the
front cover by pressing onto the tabs on top of the cover.
Remove front
cover first
Existing
wires
Different wall-mounted door controls
Note: Alternative wiring options are available, the receiver can be
connected directly to the opener’s motor. Please contact customer
service for further information regarding alternative wiring options.
Garage Door
Receiver
Red/Black Wire
You can now mount the transmitter on a
desired location.
Lift up the cover and insert screw
above the keypad in the slot provided (a).
Remove the battery cover and insert
the second screw in the lower slot (b).
Tighten all screws. Replace the battery
cover, insert and tighten screw (c).
(a)
(c)
(b)
6
4. PROGRAM A KEYPAD TO THE RECEIVER
The transmitter in this kit has been programmed to the receiver in the
factory. You need to do the programming only when you add additional
keypad transmitter to the receiver.
Plug the receiver into an electrical socket.
Press and hold the learn button at the left hand side of the receiver.
The red LED on the receiver will flash.
1
2
1 pc 2.6 x 6 screw (included)
1 pc 2.6 x 12 screw (included)
1 pc 2.6 x 25 screw (included)
