


1. INTRODUCTION
Model G6VR
Garage Door
Remote Control
2. INSTALLATION
Unplug the power cord of your garage door opener
before installation to ensure power is not connected.
WARNING
GTR Smart Button
TM
The GTR Smart Button
TM
replaces most garage door “push buttons”
or “wall consoles”. There are 2 different kinds of “push buttons”.
1) Single button
2) Multi-Function Wall Console
1) Single button
If your garage door opener comes equipped with a single button “push
button”, you can replace the existing push button with Skylink
®
Smart
Button
TM
GTR. Please follow the procedures below.
1. Remove the existing push button by removing
the screws.
2. Disconnect the 2 wires that are connected to
the existing push button.
3. Connect the 2 wires from the existing wall
button to the GTR Smart Button
TM
. Twist the 2
wires together with the wire connector
provided. Polarity does not matter, so simply
pick one wire from the existing wall button, and
connect it to one of the wires on the Smart
Button
TM
. Do the same for the 2nd wire.
4. After connecting the wires, mount the Smart
Button
TM
on to the wall with 2 screws.
5. Plug in the AC cord of the garage door opener.
The red light on the Smart Button
TM
should flash
15 seconds after plugging in the power. The
red light will not flash immediately after
plugging in the power, which is normal. The
Smart Button
TM
is now ready to be operated.
Note: Straighten up the antenna to improve signal reception.
Remove
existing
wires
Mounting
Accessories
2. INSTALLATION (CONT)
Smart Button
TM
2) Multi-Function Wall Console
Multi-Function Wall Console normally comes with 3 buttons that can be
used to:
1) operate the garage door opener lighting,
2) lock the receiver so it doesn’t accept
remote control operation, and
3) push button for door opening / closing
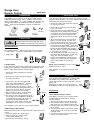
Congratulations on your purchase of the Skylink
®
G6VR Universal
Garage Door Remote Control. This is a kit with a universal remote
control and Smart Button
TM
. It is 100% compatible with all garage door
openers. Simply replace the traditional wall button by the Smart
Button
TM
, that’s all for the installation. In this kit, you will find the
following:
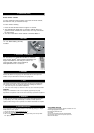
Rating of the transformer: 12V DC, 100mA
Diameter of DC plug : 3.5mm
Note: Straighten up the antenna to improve signal
reception.
Universal
Remote Control
(Battery included)
If you have the multi-function wall console, do not replace the wall
console by the Smart Button
TM
. You need to install the Smart Button
TM
in
parallel with your existing wall console.
1. Remove the existing wall console from the wall
by removing the screws.
2. Remove the 2 screws that secure the wires
on the wall console.
3. Connect the wires from the Smart Button
TM
to the
existing wall console. Polarity does not matter,
so simply pick one wire from the Smart Button
TM
,
and connect it to one of the terminals on the
existing wall console. Do the same for the 2nd
wire.
4. After connecting the wires, mount the Smart
Button
TM
on to the wall with 2 screws. Also
mount the original wall console on to the wall.
5. Plug in the AC cord of the garage door opener.
The red light on the Smart Button
TM
should flash
15 seconds after plugging in the power. The red
light will not flash immediately after plugging in
the power, which is normal. The Smart Button
TM
is now ready to be operated.
6. If the Smart Button
TM
red light does not flash at
all 2 minutes after plugging in the AC cord, your
garage door opener is probably too old.
However, the Smart Button
TM
will still work by
plugging in an adapter (purchase separately).
Please contact Skylink
®
to purchase the
adapter.
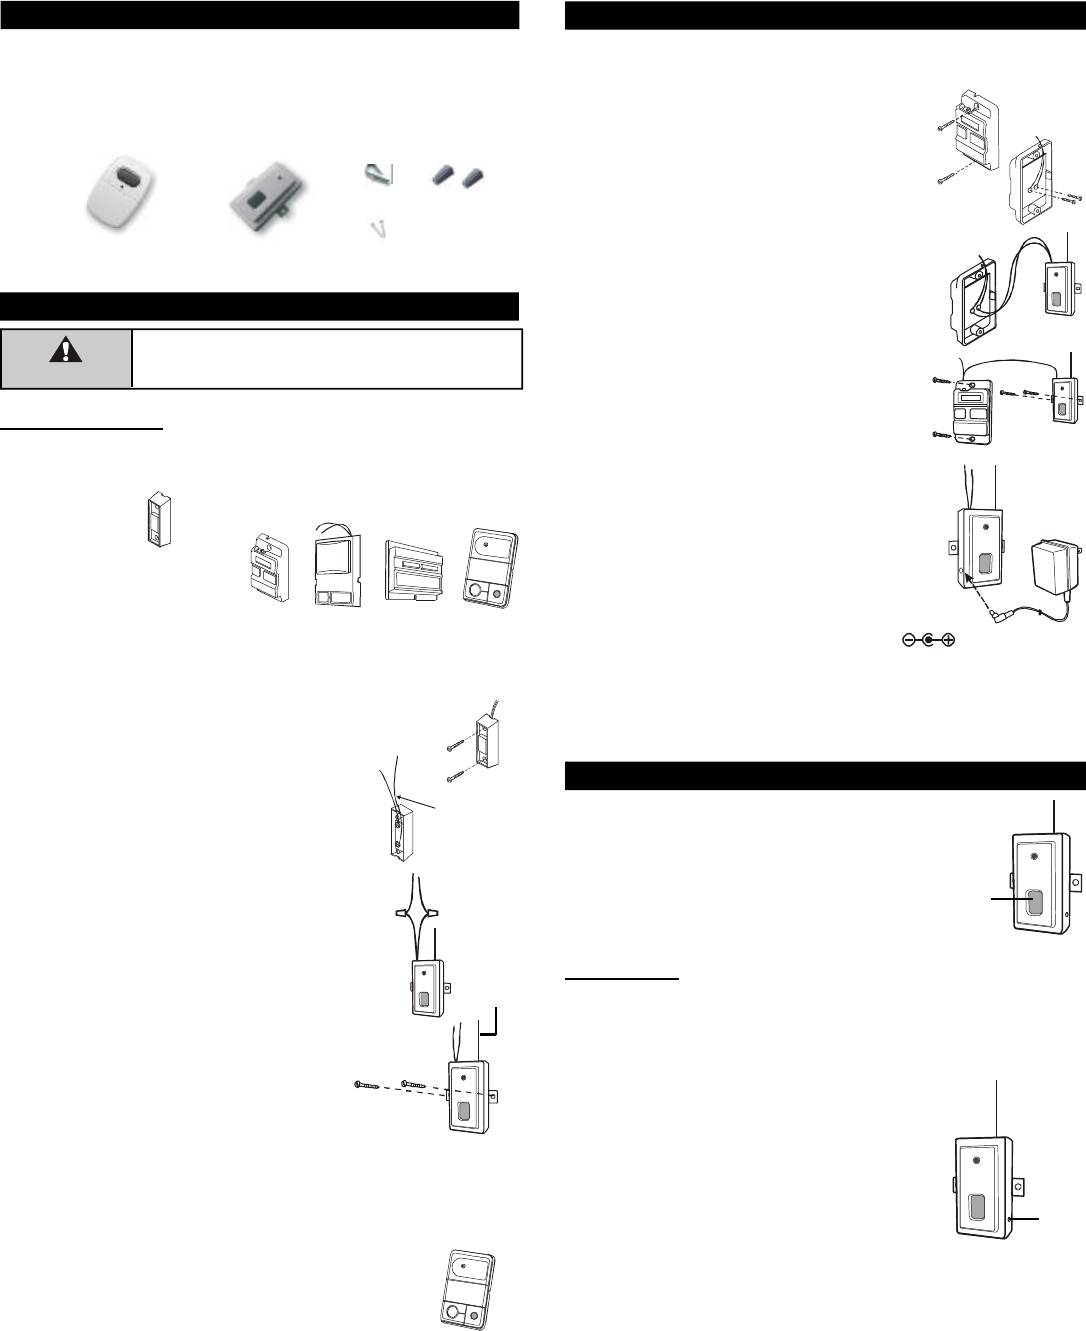
If the red light on the Smart Button
TM
is flashing slowly,
that indicates it is in standby mode. When a valid
remote control signal is received, it will open / close the
garage door.
Simply press the button on the remote control or
Smart Button
TM
, it will open / close the garage door.
OPEN /
CLOSE
Programming
Learn additional remote controls
Smart Button
TM
can learn up to 15 remote controls.
To learn additional remote controls, follow the
instructions below:
1. Press the learn button on the side of the GTR.
2. Once the learn button is pressed, the LED will
flash quickly. You may release the learn button.
3. Press the button on the remote control you would
like to program.
4. Once the remote control is programmed, the LED
will flash slowly, in the same way as it flashes
in standby mode.
5. You may now operate the garage door opener
with this new remote control.
Learn
Button
3. OPERATION
Antenna
2 Wire
Connectors
Visor clip