


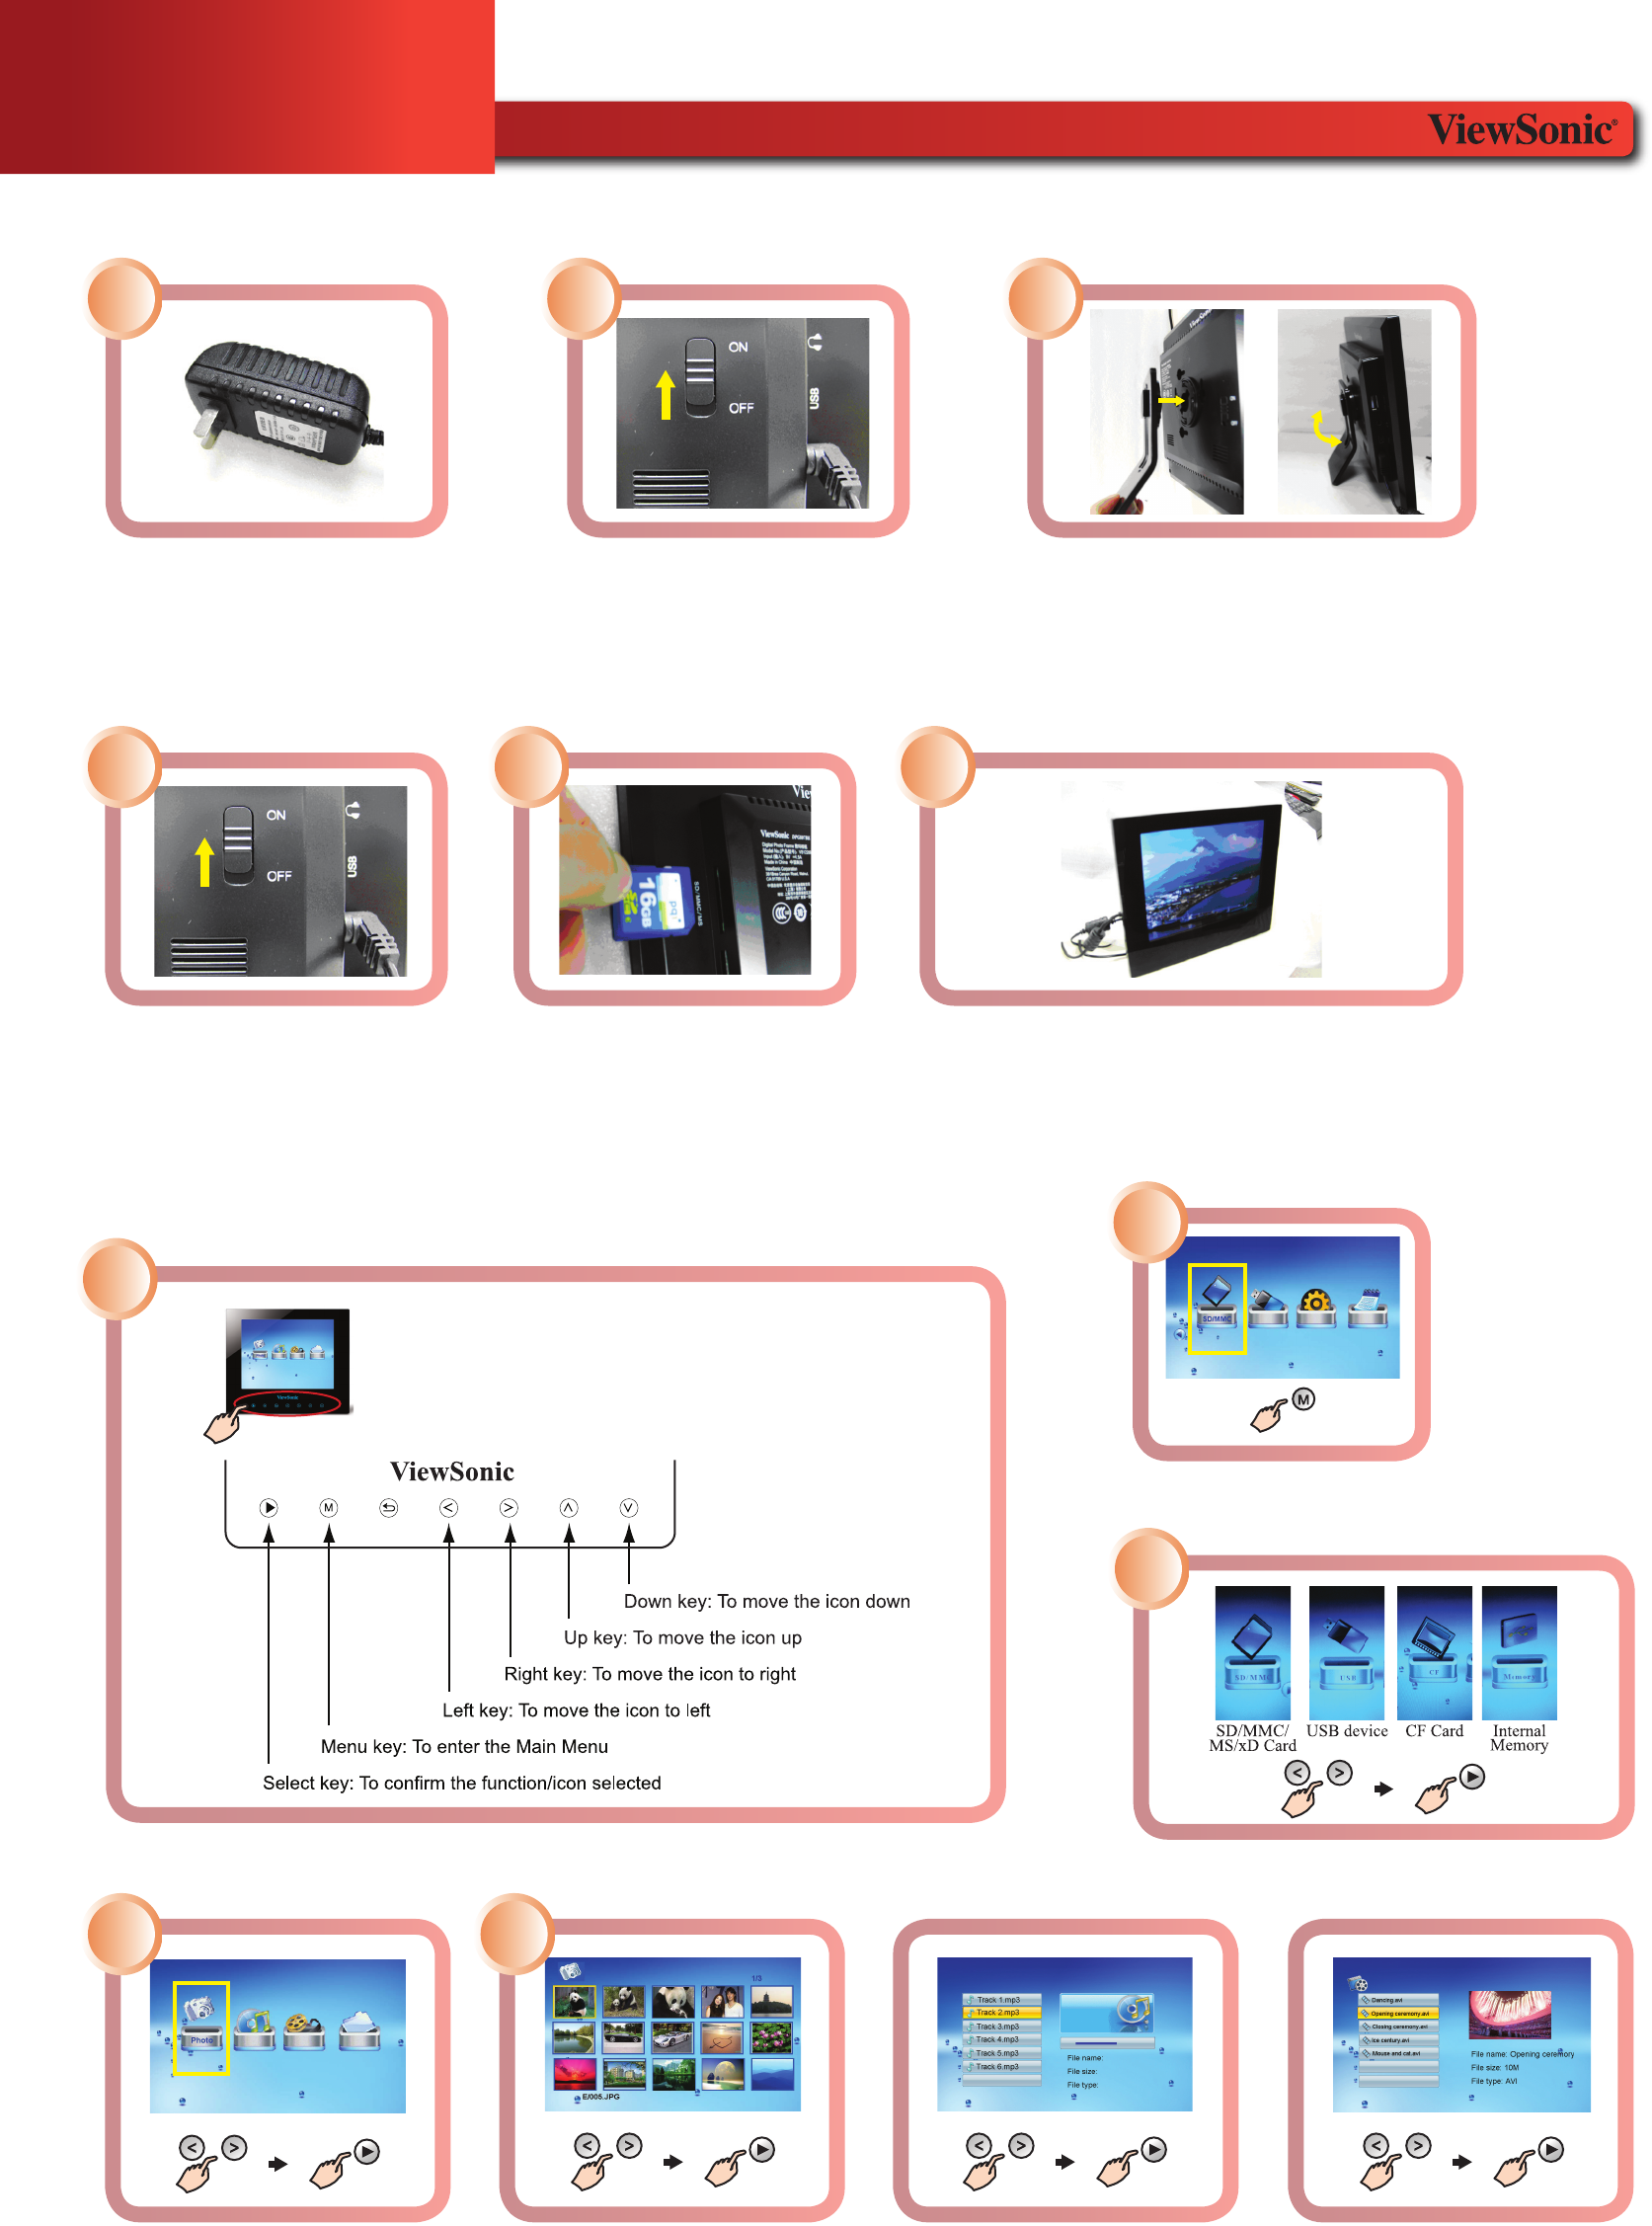
Touch Frame Buttons
Set Up Your Photo Frame
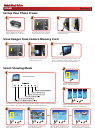
Plug AC adaptor into the photo
frame and plug it into a wall outlet.
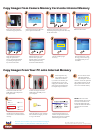
Turn the power switch on the back
of photo frame to “ON” position.
Connect the stand to the back of the frame
and adjust the angle.
View Images from Camera Memory Card
Turn on the photo frame. Insert your camera memory card
into the appropriate slot.
Photo frame will automatically display memory card
photos in a slideshow. When no memory card is used,
the frame shows photos stored in internal memory.
Select your desired media (i.e.,
photo, music, movie)
Selecting “Photo” produces this
photo thumbnail display.
Selecting “Music” produces a list of
music stored on your photo frame.
Selecting “Movie” produces a list of
movie/video stored on your photo frame.
DPG807
Quick Start Guide
Activate the touch frame buttons by touching the blue backlight. (Please note that the bluelight
timeout defaults to 20 seconds and can be adjusted through the SETUP menu.)
1 2 3
1 2 3
1
Press the menu key on the touch
frame to open the main menu.
2
Highlight the desired icon by pressing the left/right arrow
buttons and press the select key on the touch pad.
4 5
OROR
Select Viewing Mode
3