62
NOTE: Both power supplies must have the same air flow direction to prevent the switch from overheating.
To avoid overheating, do not operate the switch with one power supply any longer than necessary.
When removing or replacing a power supply, consider the following:
• The left and right power supplies are interchangeable. However, you must orient the power supply so
that AC receptacle is on the right.
• Both power supplies must have the same air flow direction. The part number label on the power supply
indicates the air flow direction.
• When removing or replacing a power supply on an operating switch, be sure the Heartbeat LED is
showing the normal one blink per second. This indicates that the switch will continue operating
normally while the power supply is being removed or replaced.
To remove a power supply:
1. Unplug the power cord from the power supply.
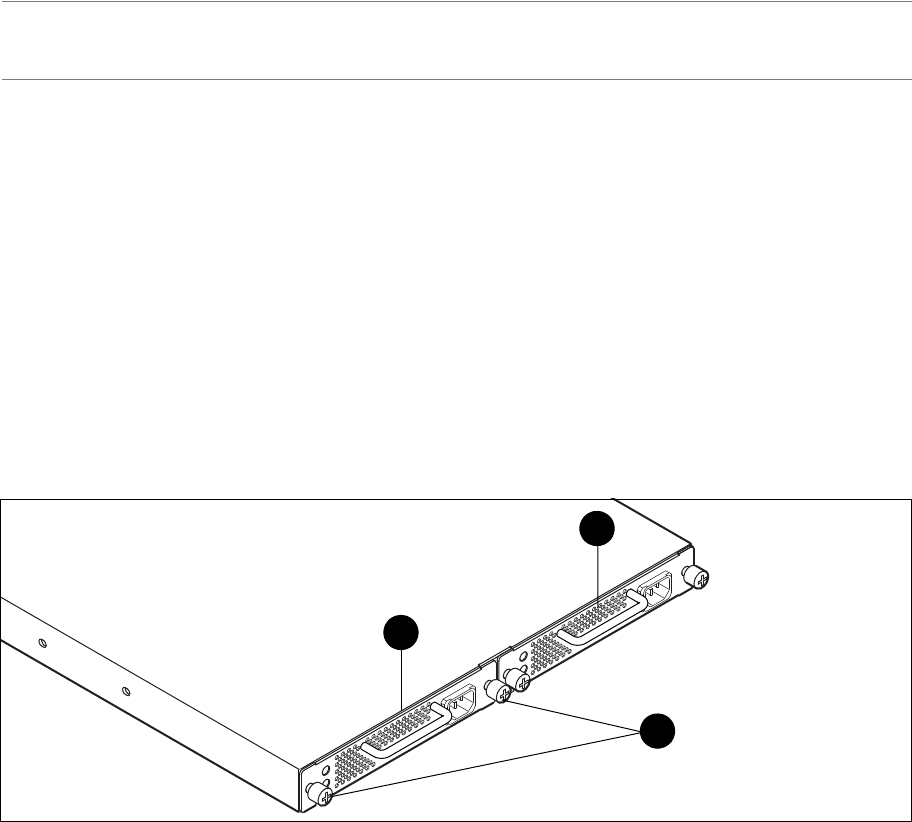
2. Using a cross-head screw driver, loosen the two knurled fasteners (Figure 23).
3. Grasp the power supply handle and pull firmly to disengage the modular connector.
4. Remove the power supply from the bay.
Figure 23 Power Supply Removal
To install a power supply:
1. Confirm that the Heartbeat LED is showing the normal 1 blink per second. This indicates that the switch
will continue operating normally while the power supply is being removed or replaced.
2. Confirm that the new power supply is compatible with the switch air flow direction. The part number
label on the power supply indicates the air flow direction (Figure 24).
3. With the AC receptacle on the right, slide the power supply into the bay until it is firmly seated. Secure
the knurled fasteners by hand.
1 Power supply 1 2 Power supply 2
3 Fasteners


