Chapter 6: Advanced Chassis Setup
6-7
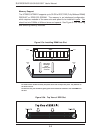
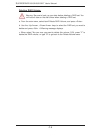
Use caution when working around the SAS/SATA backplane. Do not touch
the backplane with any metal objects and make sure no ribbon cables
touch the backplane or obstruct the holes, which aid in proper airfl ow.
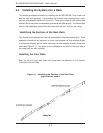
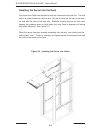
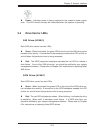
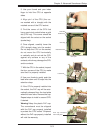
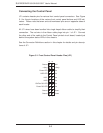
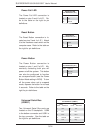
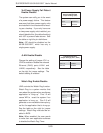
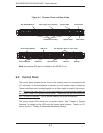
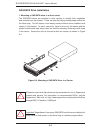
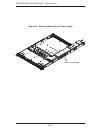
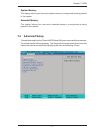
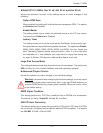
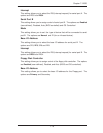
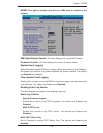
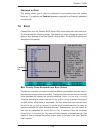
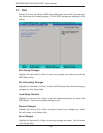
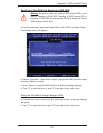
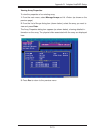
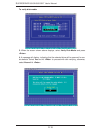
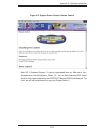
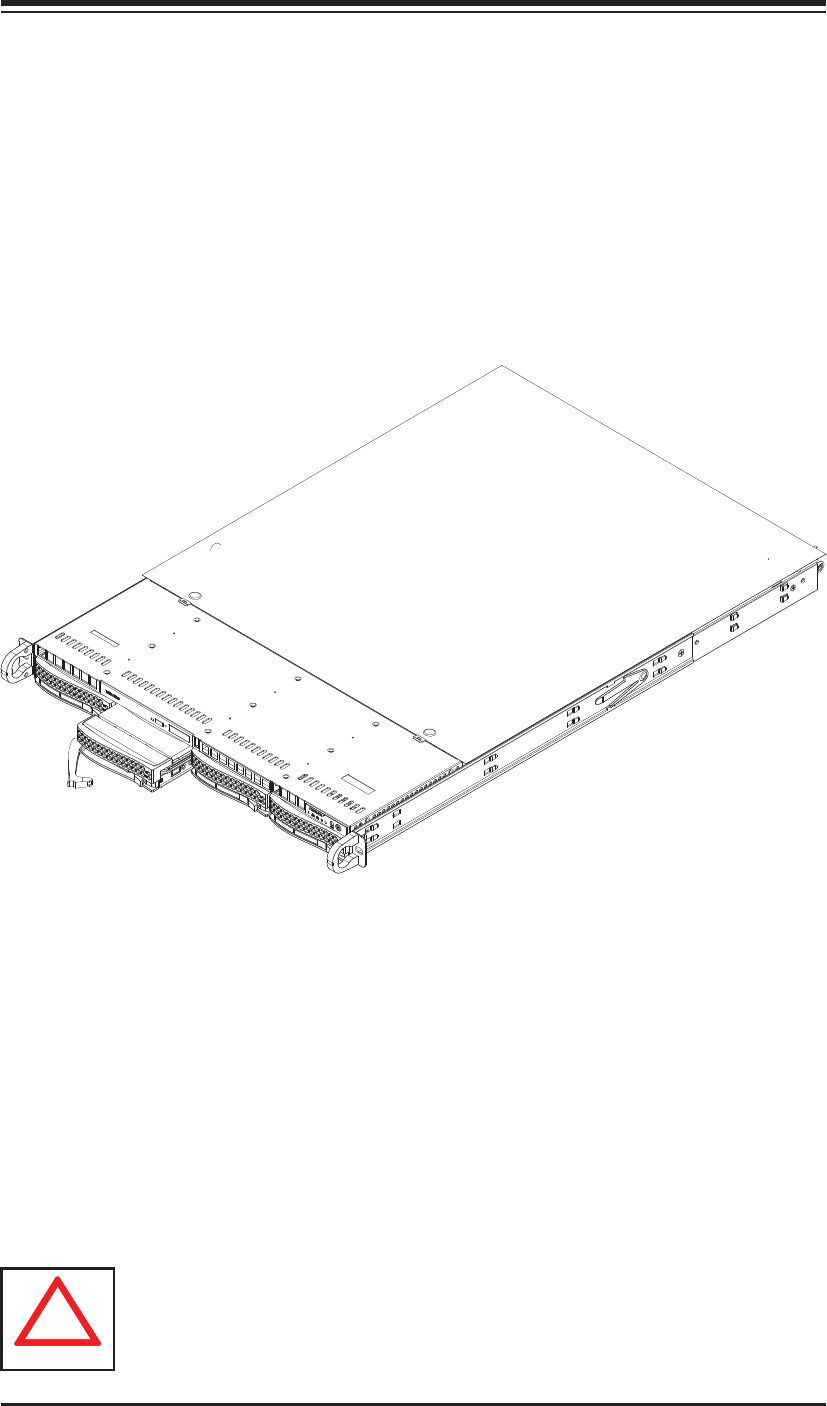
2. Installing/removing hot-swap SAS/SATA drives
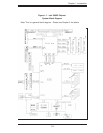
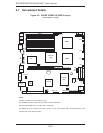
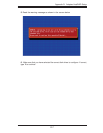
The SAS/SATA drive carriers are all easily accessible at the front of the chassis.
These hard drives are hot-pluggable, meaning they can be removed and installed
without powering down the system. To remove a carrier, push the release button
located beside the drive LEDs. Then swing the colored handle fully out and use it
to pull the unit straight out (see Figure 6-5).
Note: Your operating system must have RAID support to enable the hot-plug ca-
pability of the SAS/SATA drives.
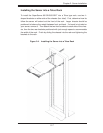
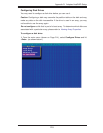
Figure 6-5. Removing a SAS/SATA Drive from the Server
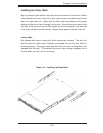
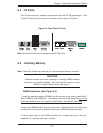
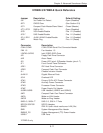
SAS/SATA Backplane
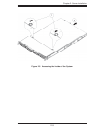
The SAS drives plug into a SES2 backplane (6015B-3) and the SATA drives plug
into a SAF-TE compliant backplane (6015B-T). Both backplanes provide power,
drive ID and bus termination. A RAID controller can be used with the backplane to
provide data security. The operating system you use must have RAID support to
enable the hot-swap capability of the drives. The backplane is already preconfi g-
ured, so there are no jumpers or switches present on it.